Make some home made moon sand with this easy recipe for a wonderful sensory play experience for kids! Using just 3 simple ingredients, it can be formed and moulded, used to make impressions and cut out shapes and makes the best sand castles ever! Even better is that it’s gluten free so all can play.

We are big fans of sensory play and like to try as many different homemade recipes as we can! I’m always surprised at how easy they are and typically they use just a few everyday ingredients. I’ve had home made moon sand book-marked as a recipe idea for a long time ever since I first saw it on one of my all-time favourite blogs, Irresistible Ideas for Play-Based Learning (how can you resist checking out a blog with a name like that?!)
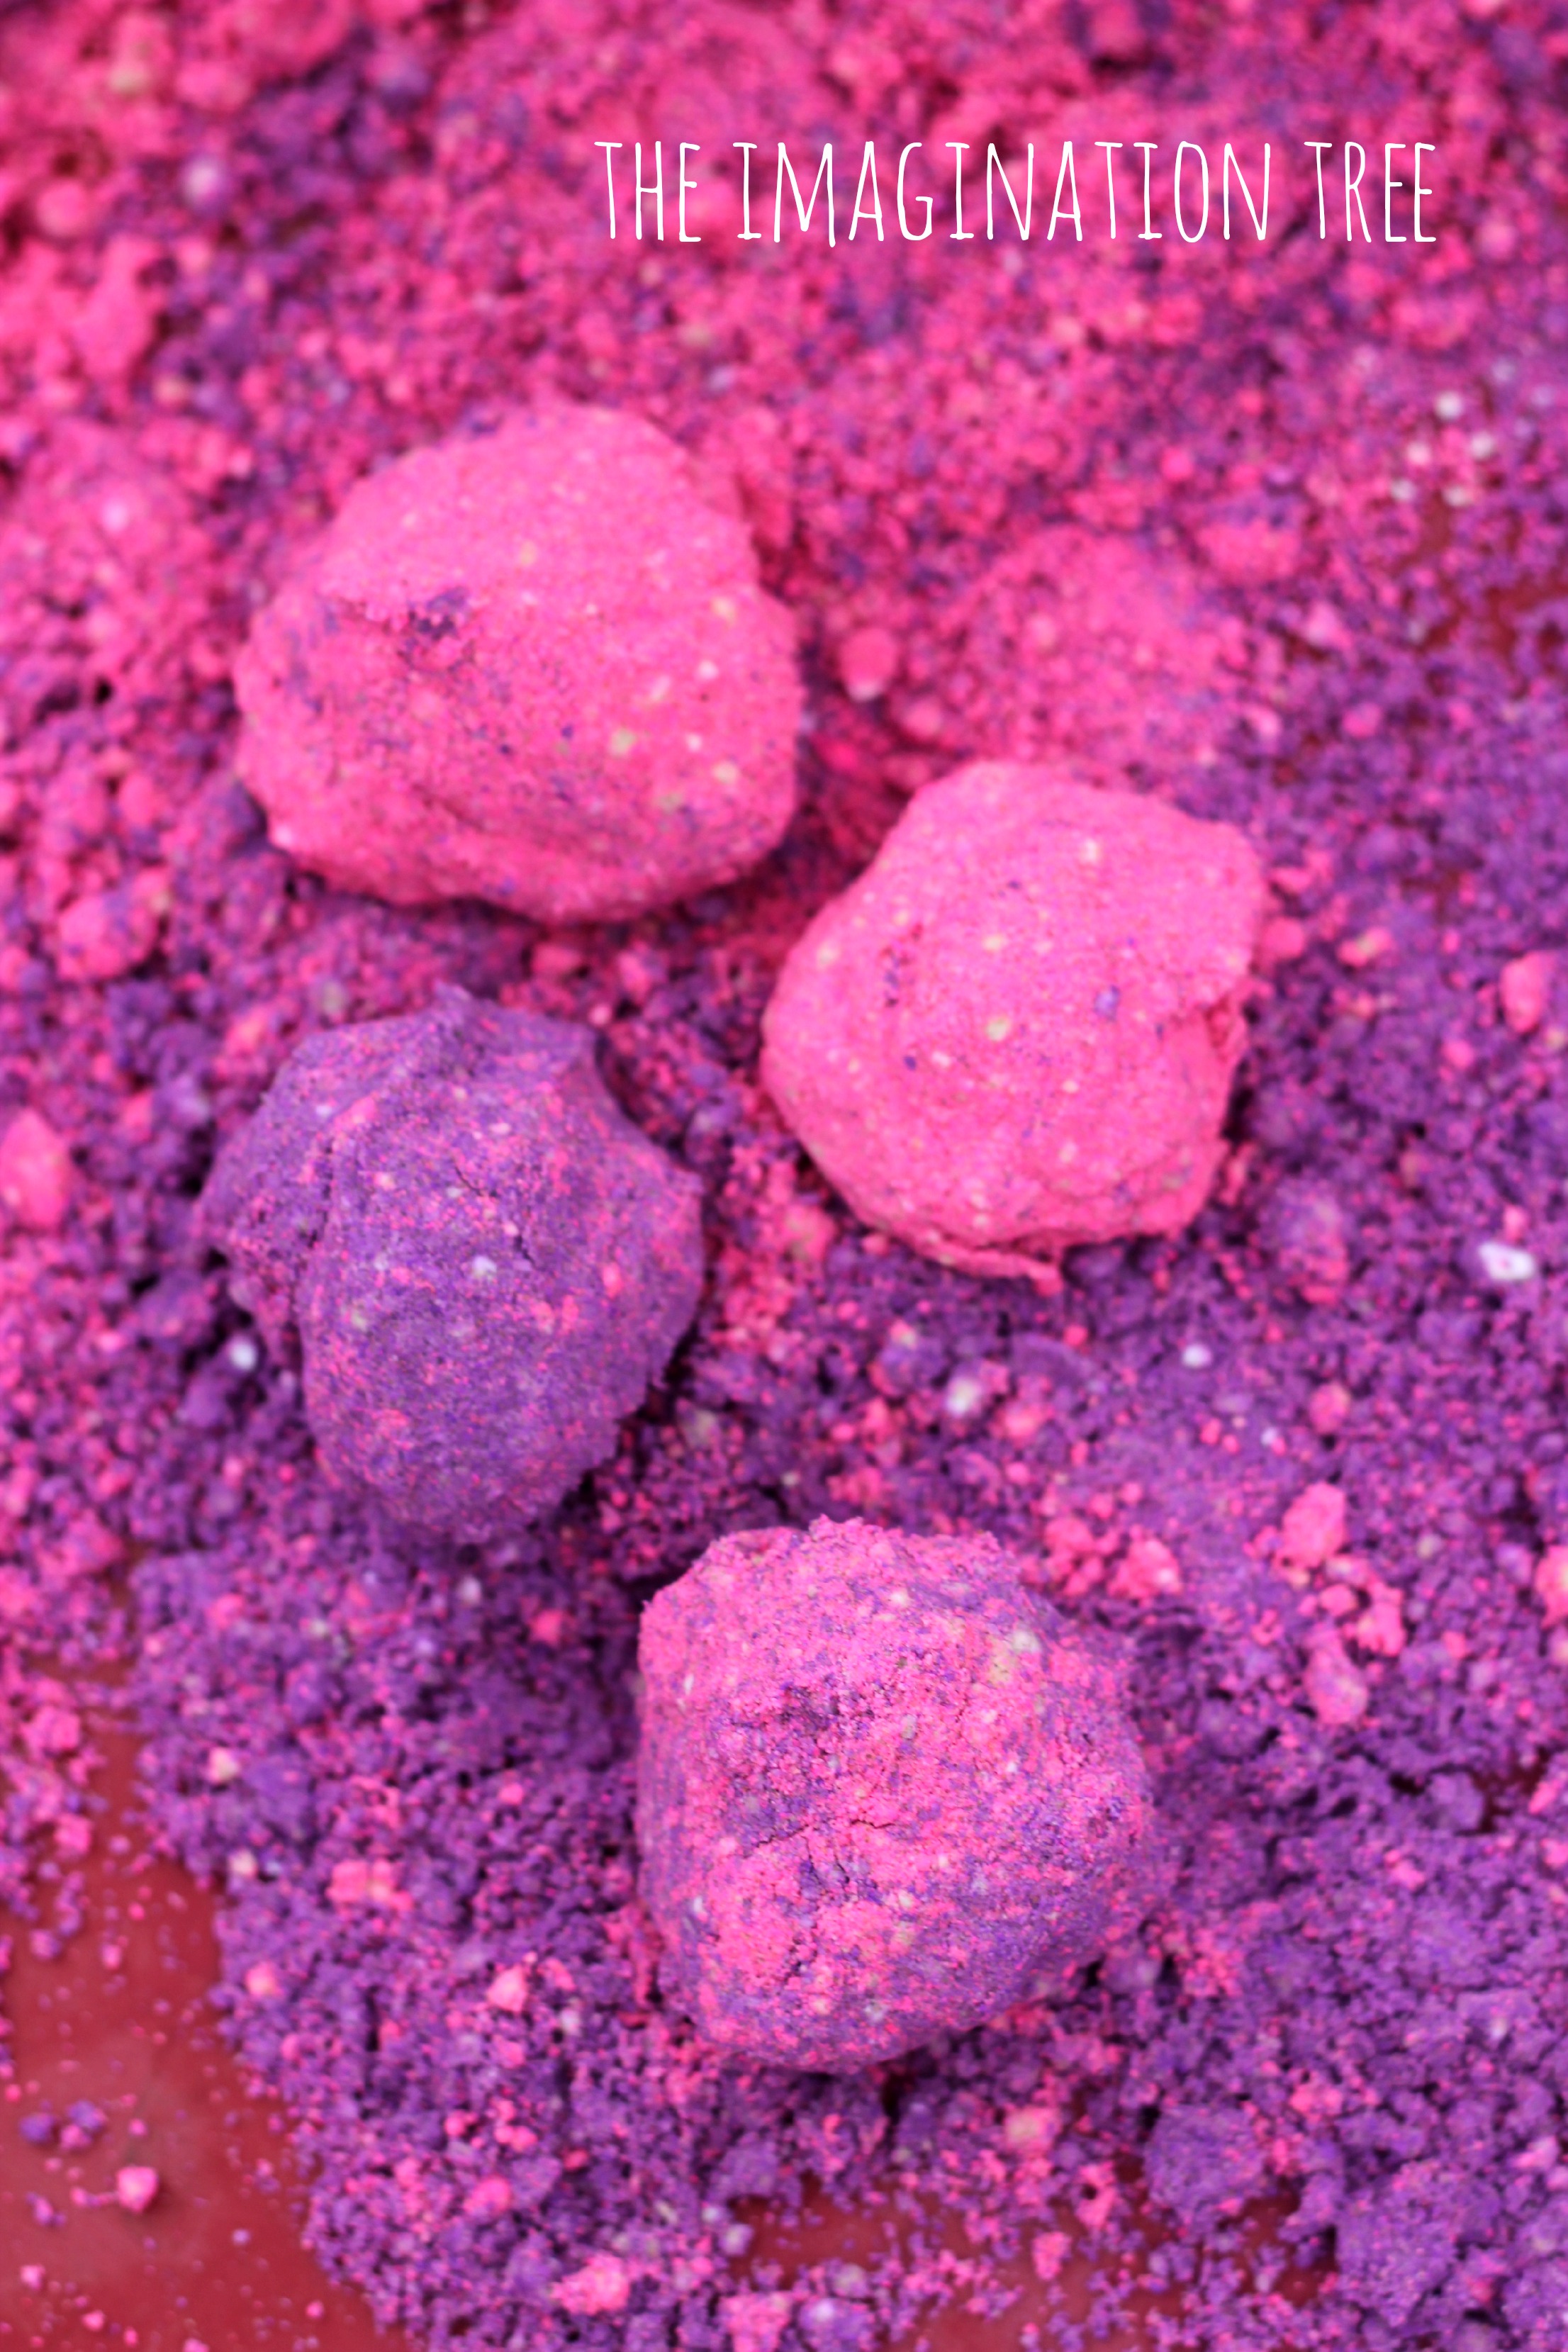
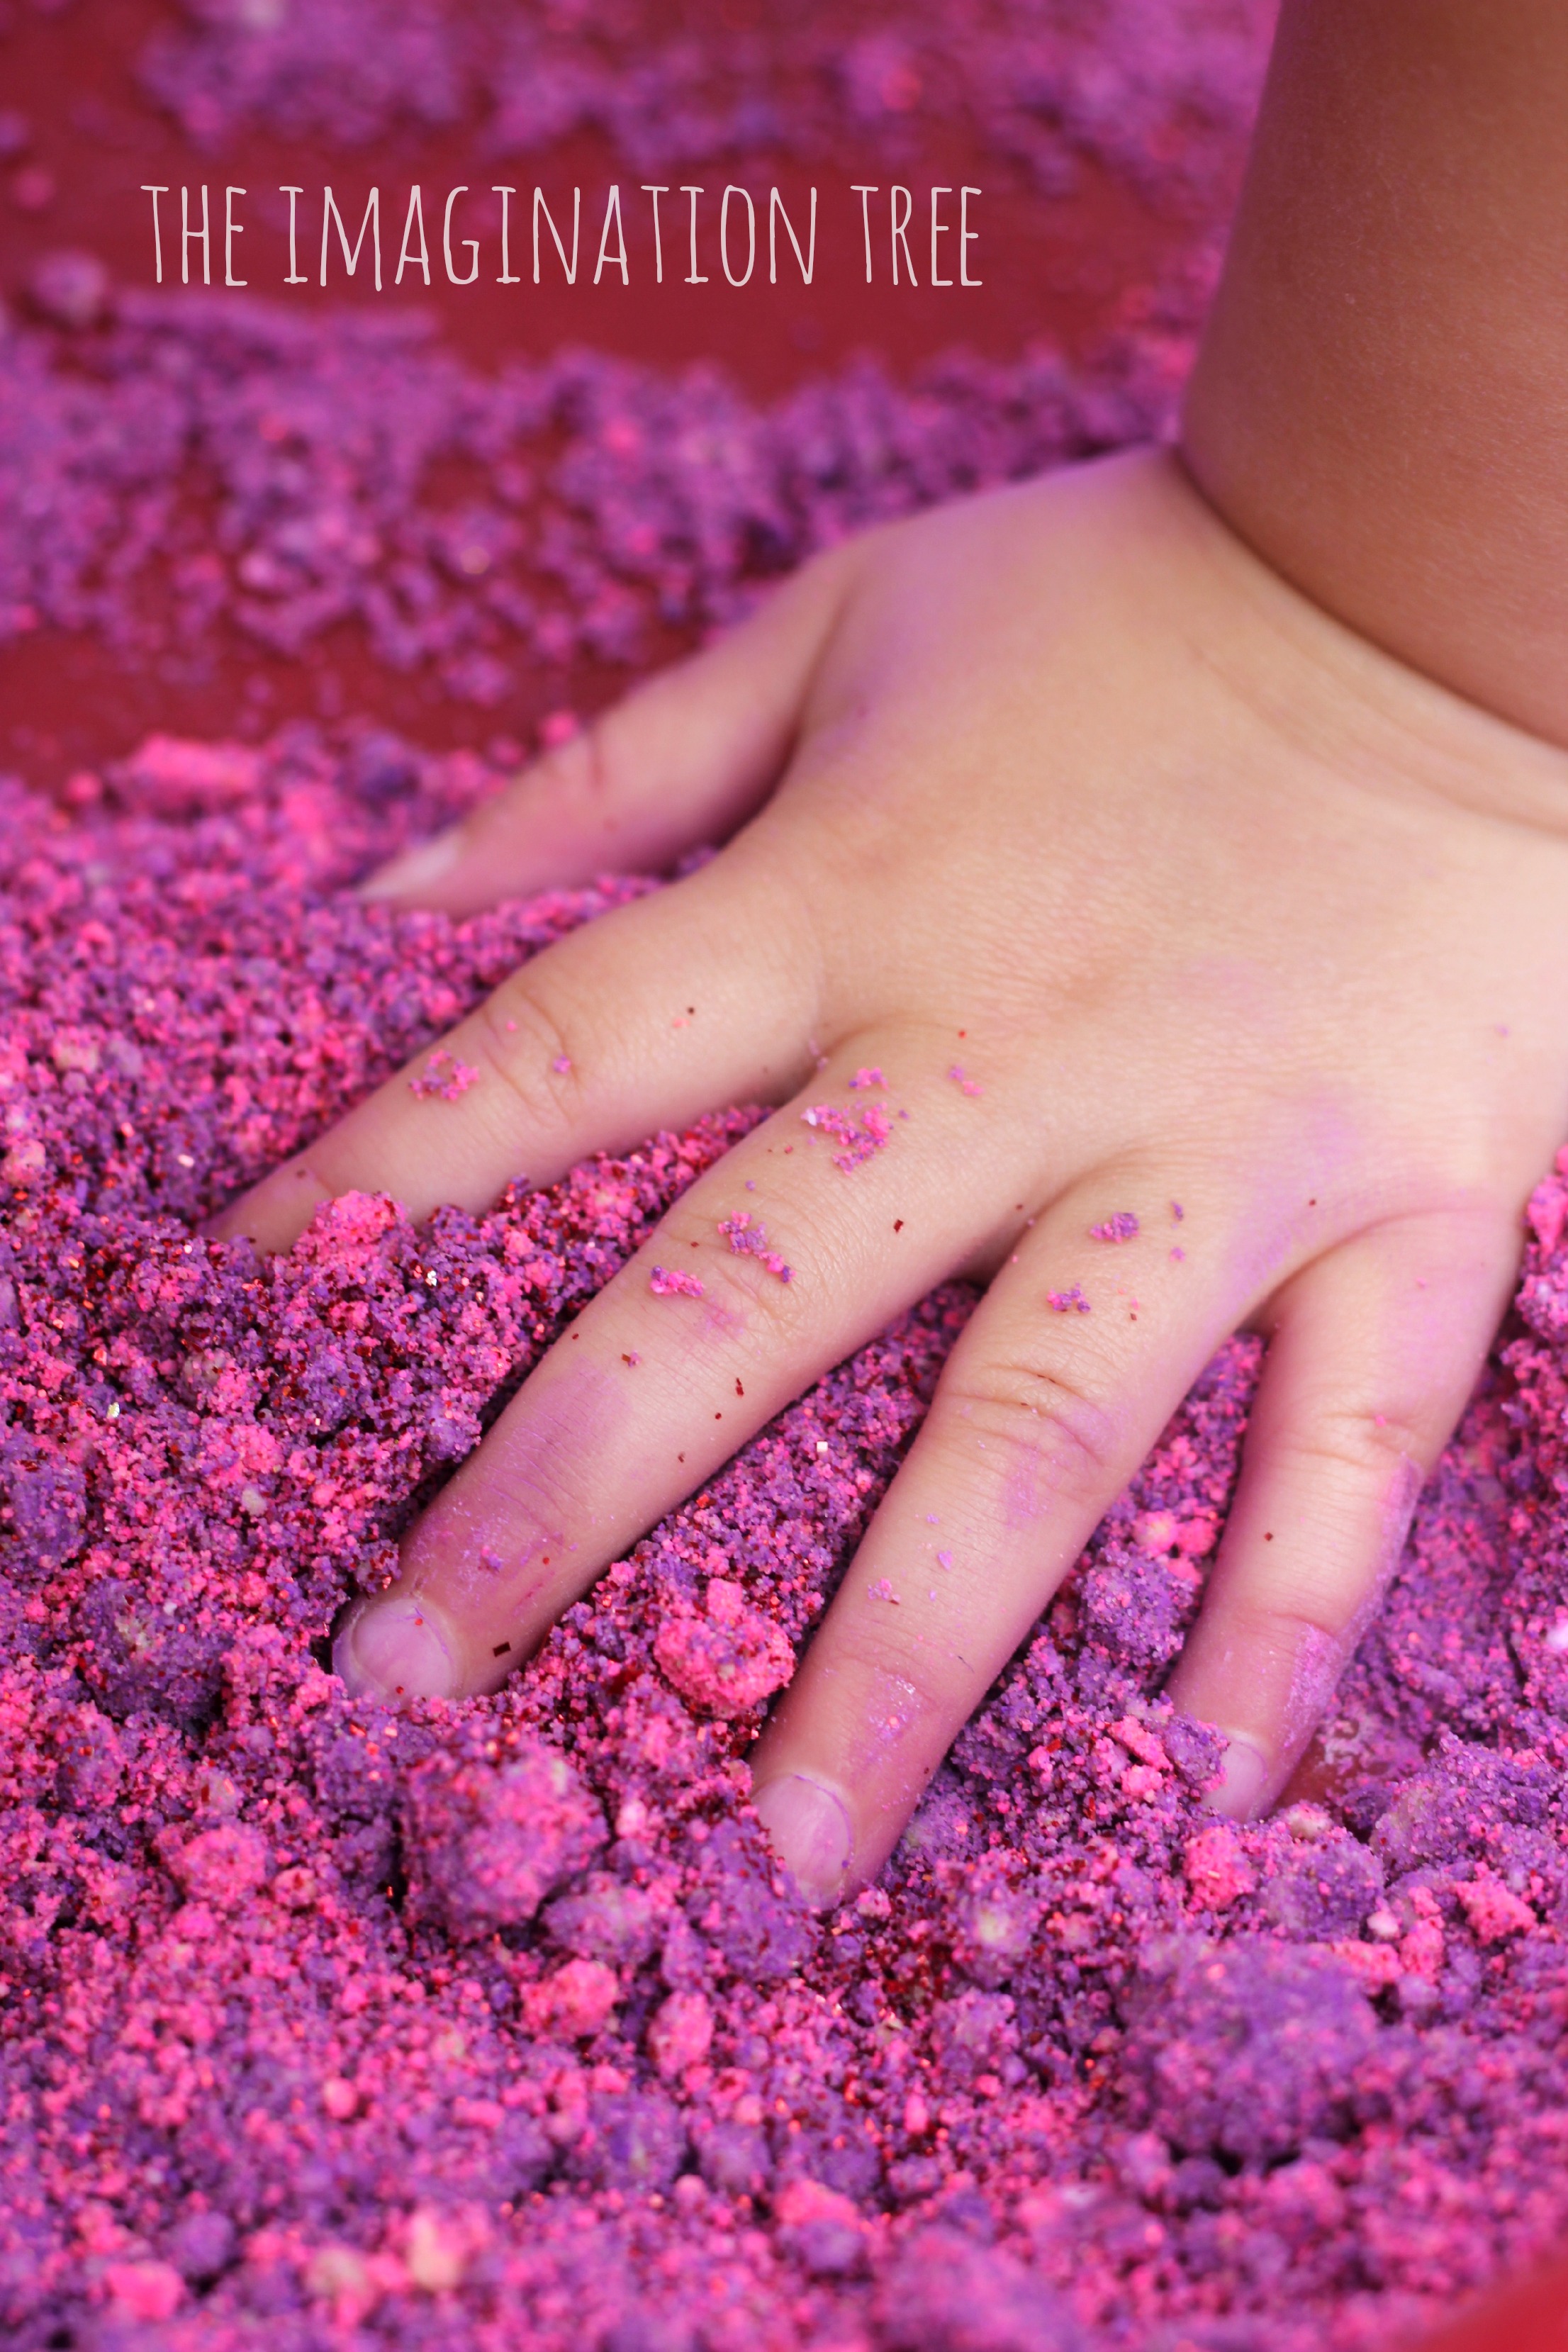
We have used commercially produced Moon Sand once and were not that impressed as it seemed to get everywhere and was a nightmare to clean up. This recipe however, turned out much more like the fun Cloud Dough recipe we have used lots of times and makes similarly awesome sand castles and moulded shapes! We decided to add some colour and glitter to ours to add a little more ZING and it turned out beautifully!
 Home made coloured moon sand recipe:
- 4 cups play sand
- 2 cup corn flour (corn starch in US)
- 1 cup water
- 2 tbsp coloured powder paint (we divided our plain mix into two so we could make both pink and purple)
- huge sprinkling of glitter
 Method:
- Mix the sand and cornflour in a large bowl until combined. Then tip in the water in increments, mixing it in as you go along. By the end it should be well combined and the consistency is like a crumbly pastry mix. If it doesn’t hold together when formed in a ball then add a tiny bit more water until it feels right. It should not be wet, but feel slightly damp.
- When this is achieved then stir through the colours, using as many as you like. You will need to use your fingers to thoroughly mix the colours, like making breadcrumbs or pastry. This stage is fantastic for developing fine motor skills!
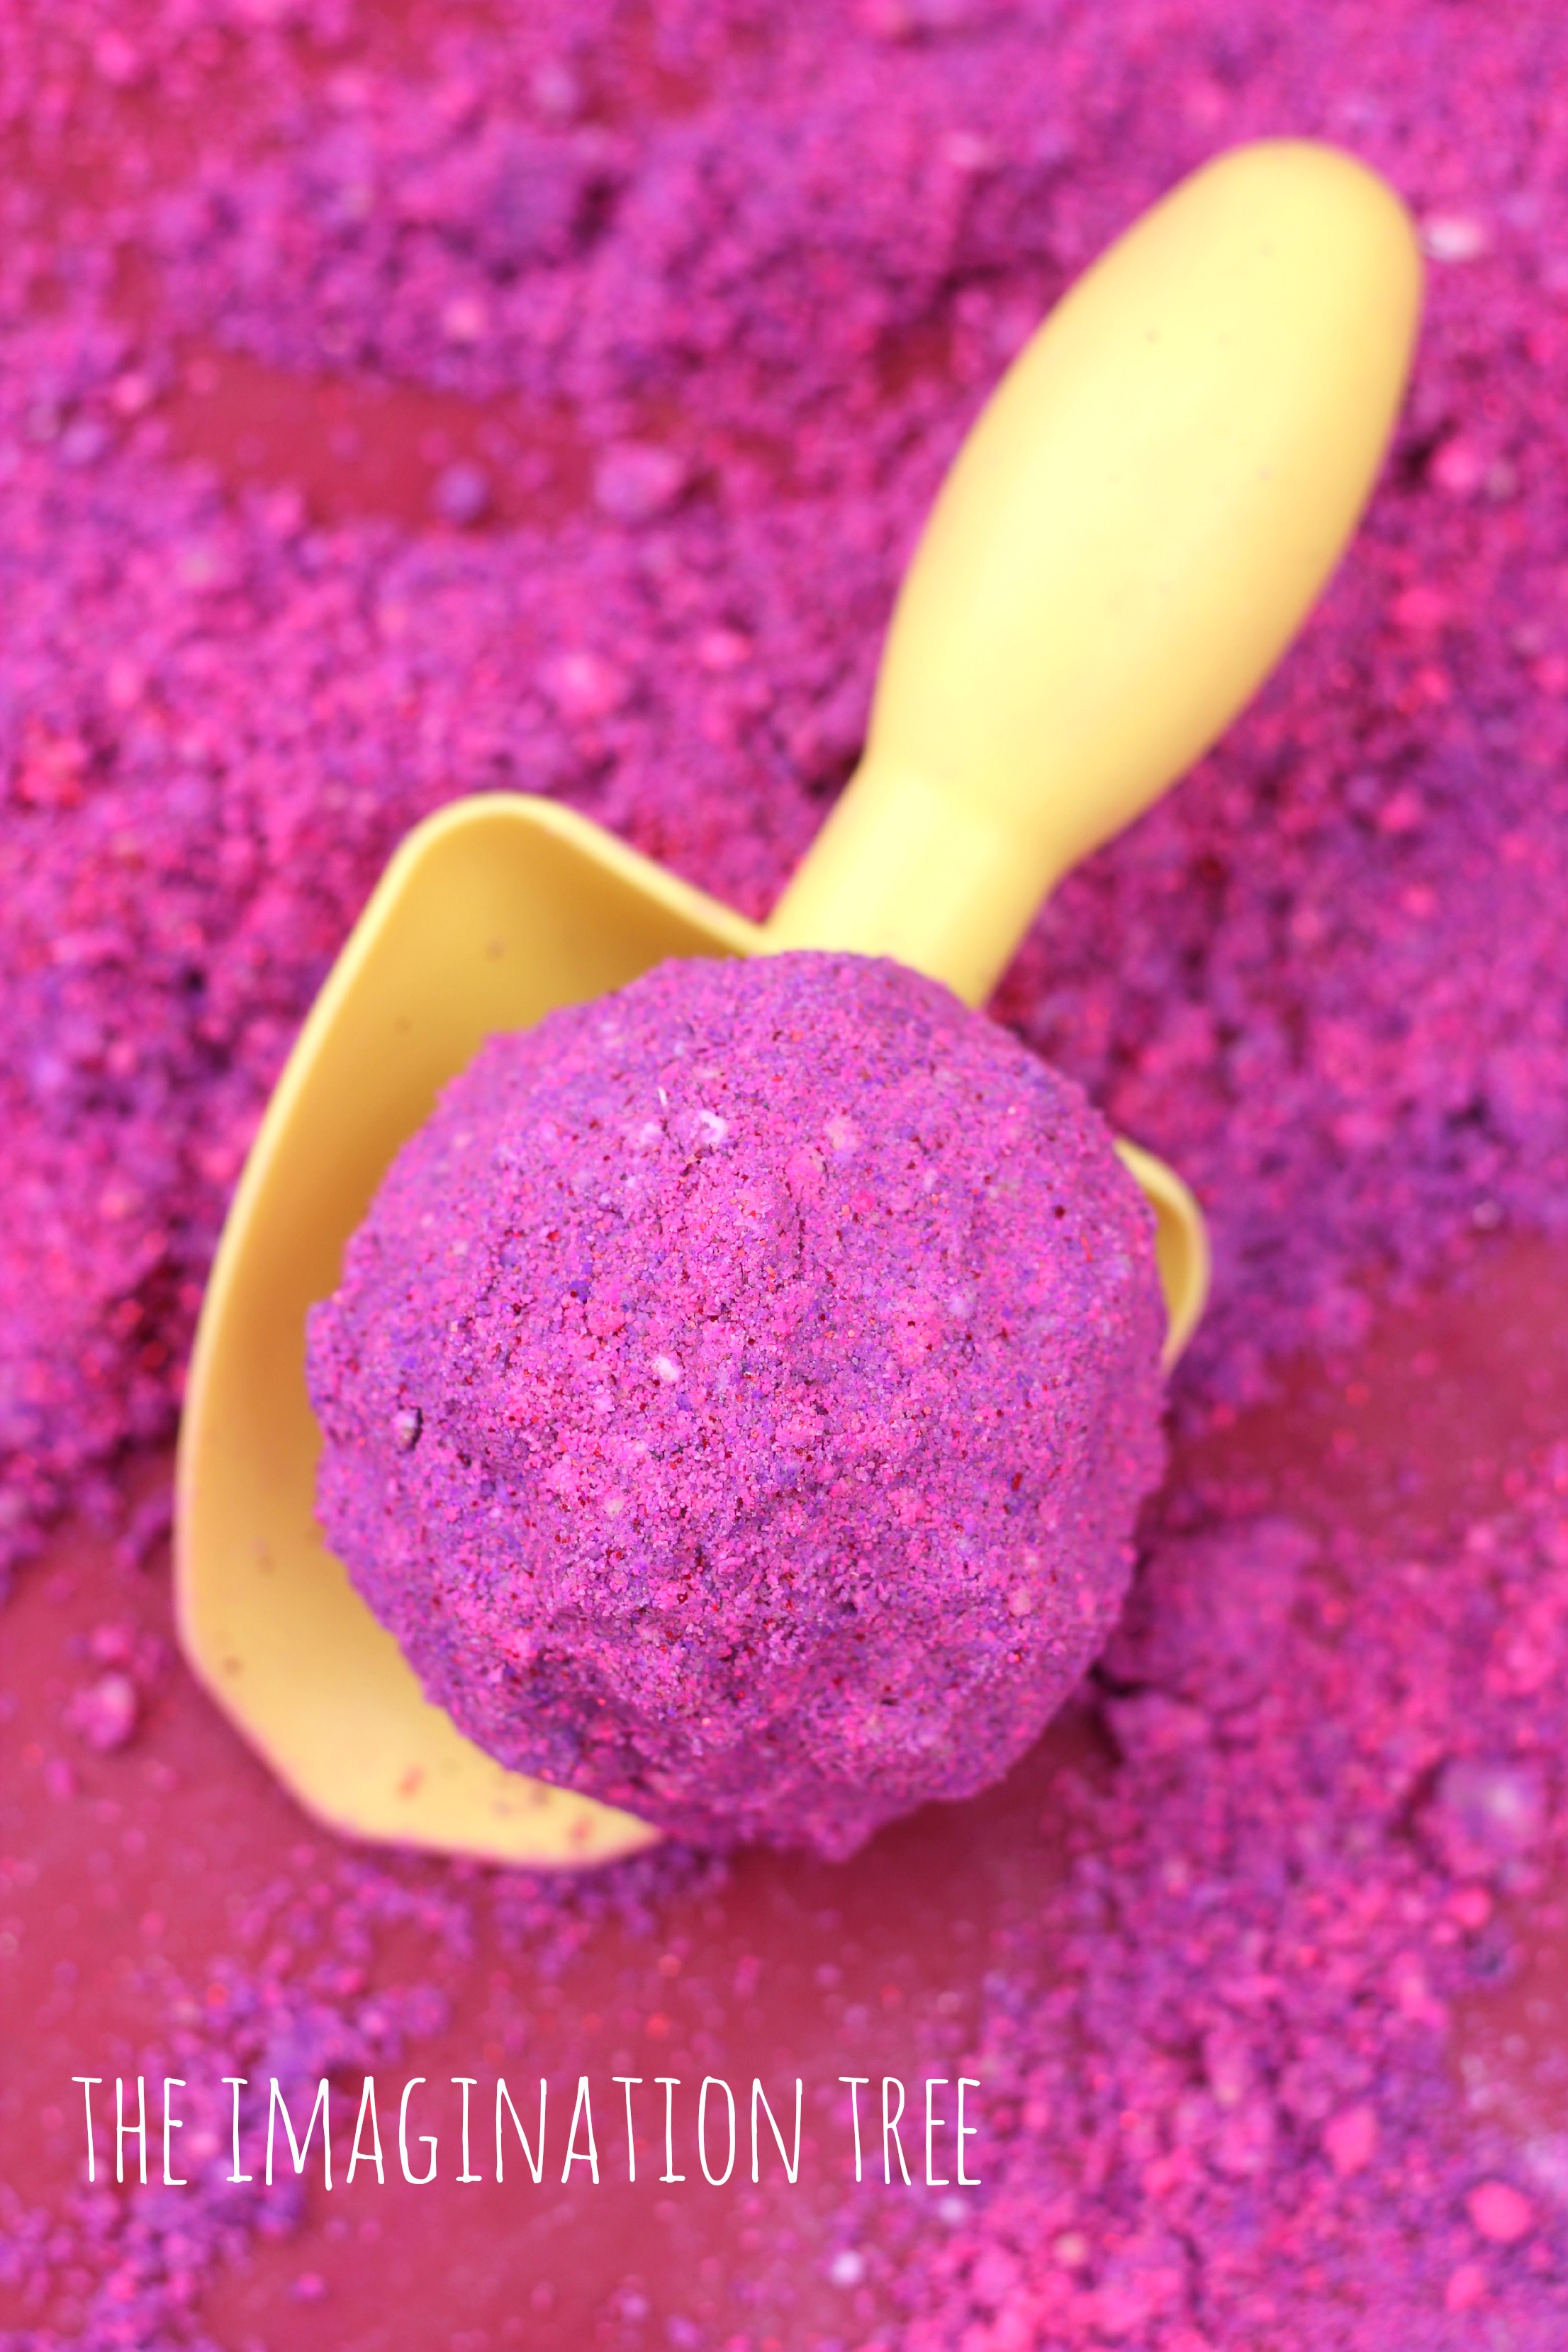
Next step is to PLAY! (always the best bit of course!) We tipped it into our sensory play table which we use for all things messy outside.
Then we added small scoops, spades, sand moulds, buckets and any loose materials they chose for decorations.
 They made a volcano and poked a hole inside for pretend explosions. This would be fantastic to add some bicarb and vinegar inside to make pretend eruptions with, maybe we will do this next time we use it.
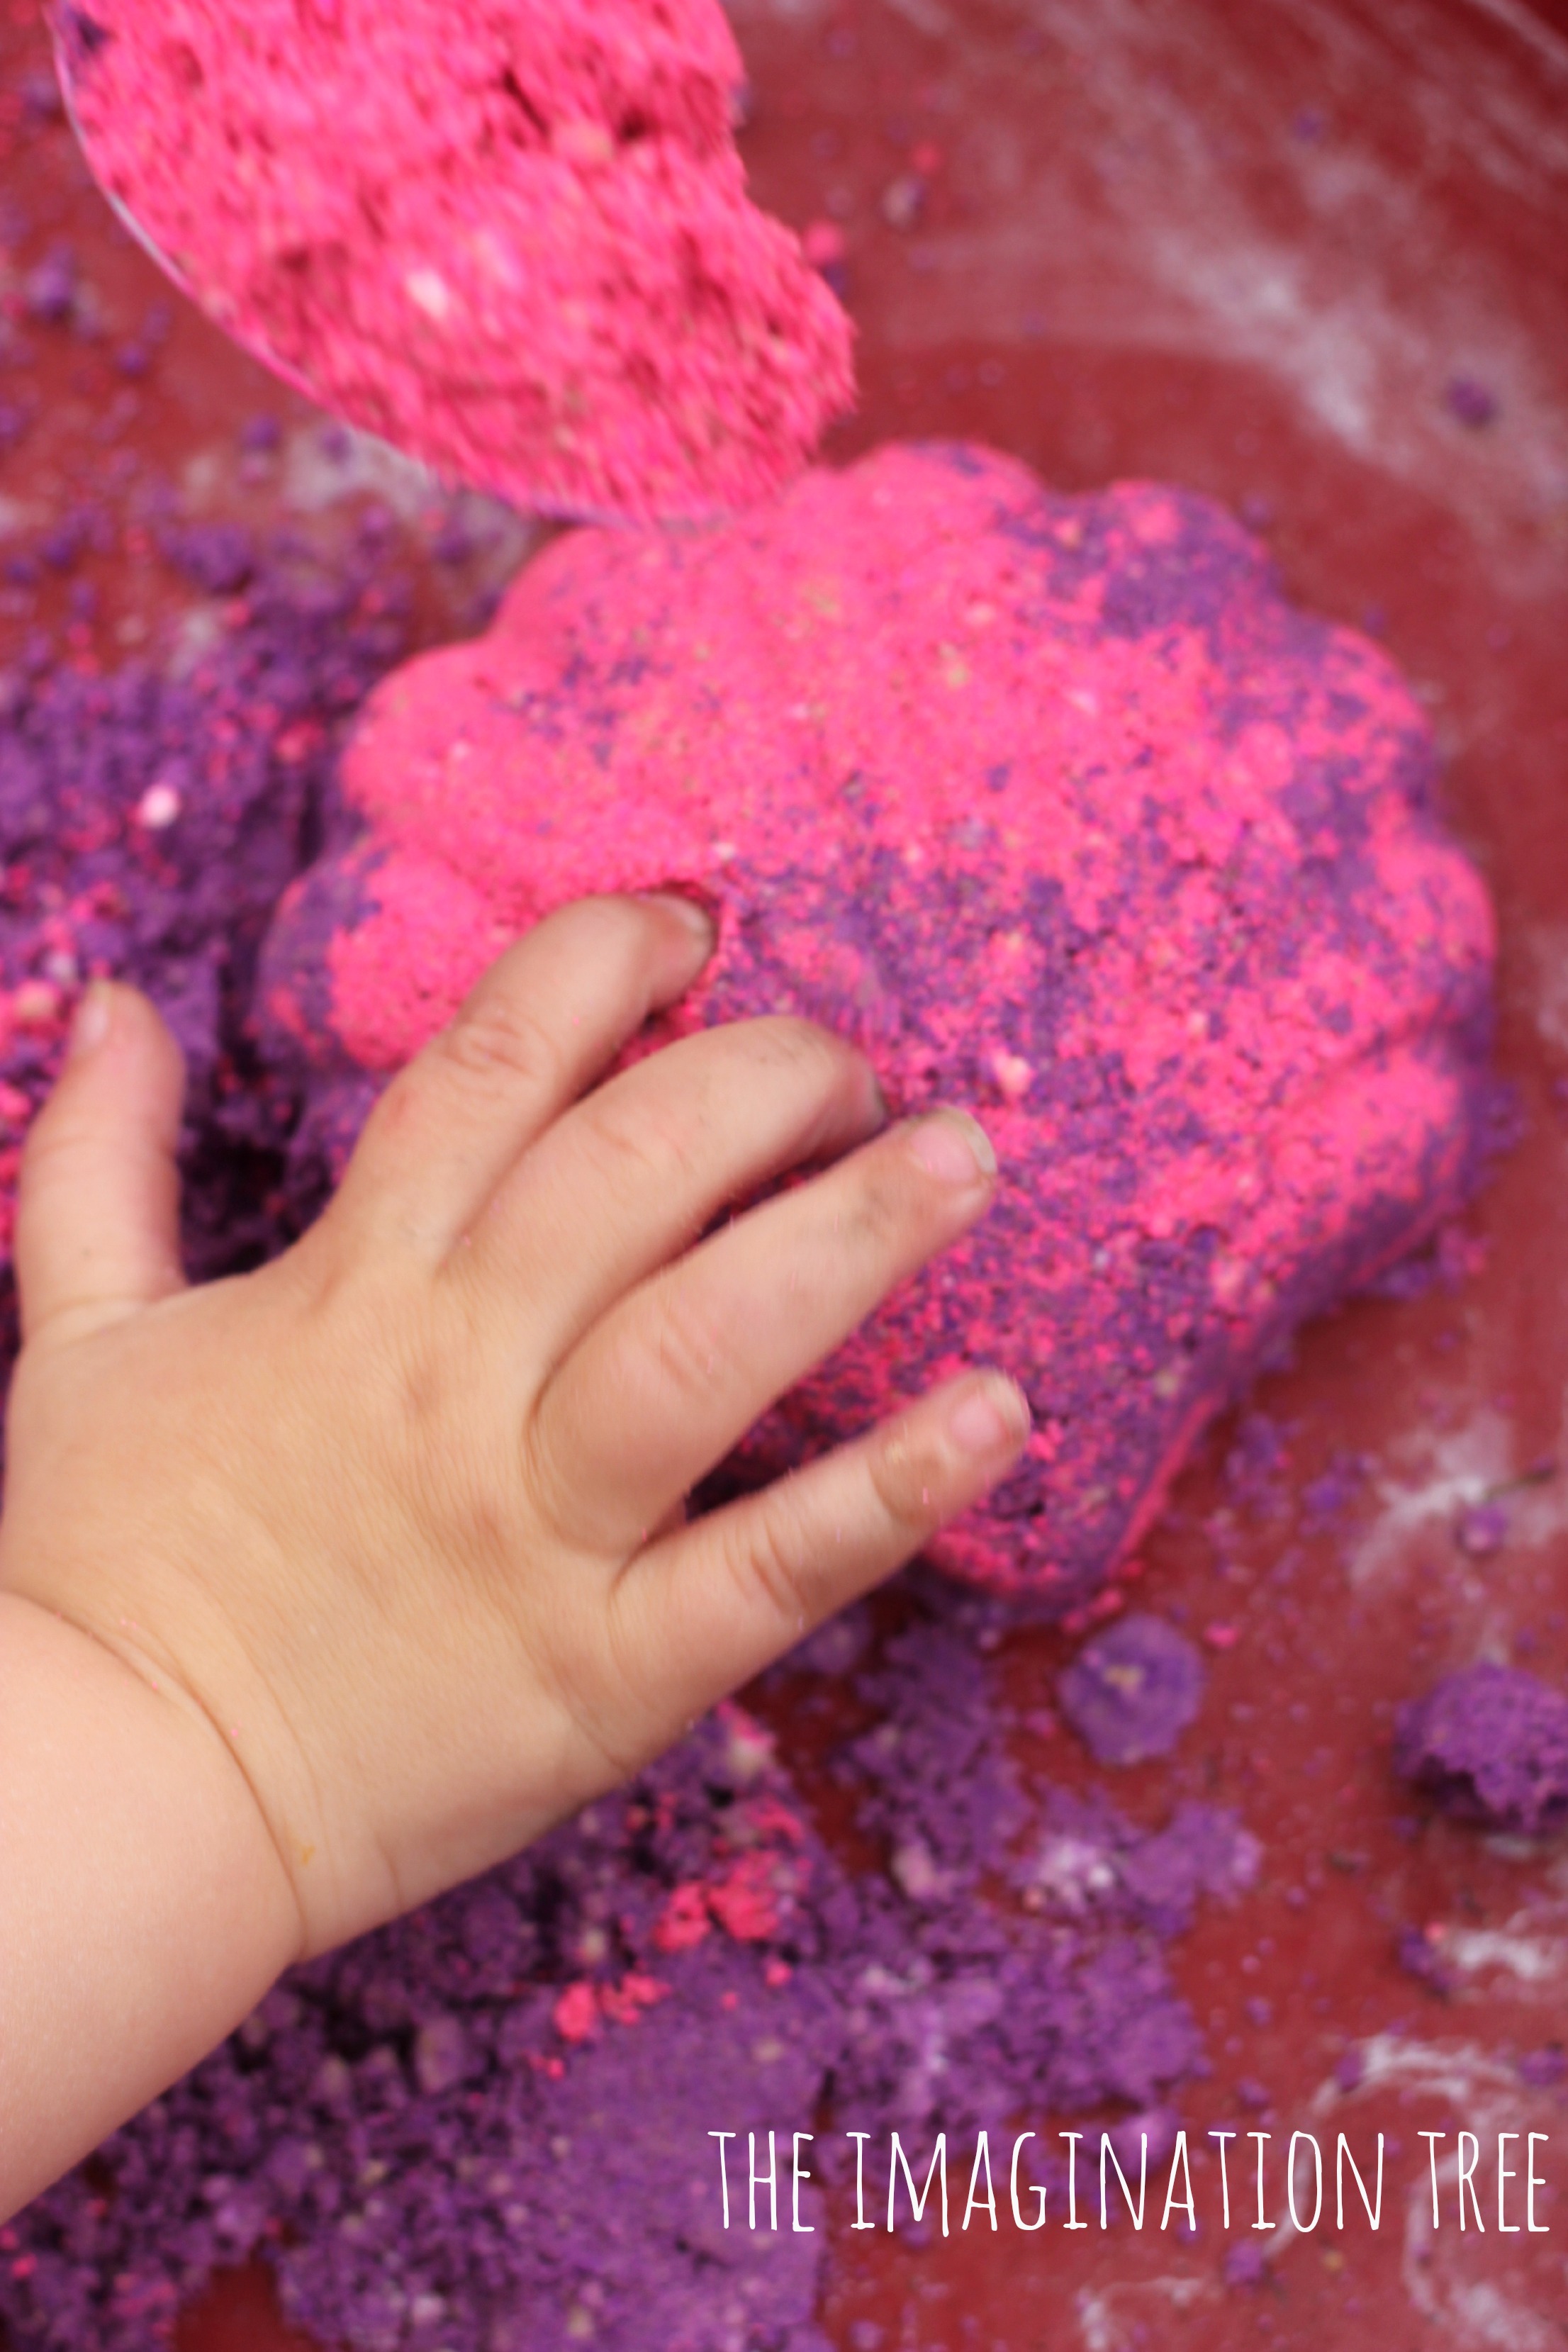 Baby played happily too, filling and emptying containers and using the sand moulds with a little help. She, of course, loved to destroy and knock down the structures best of all. After all, that’s her job as a baby!
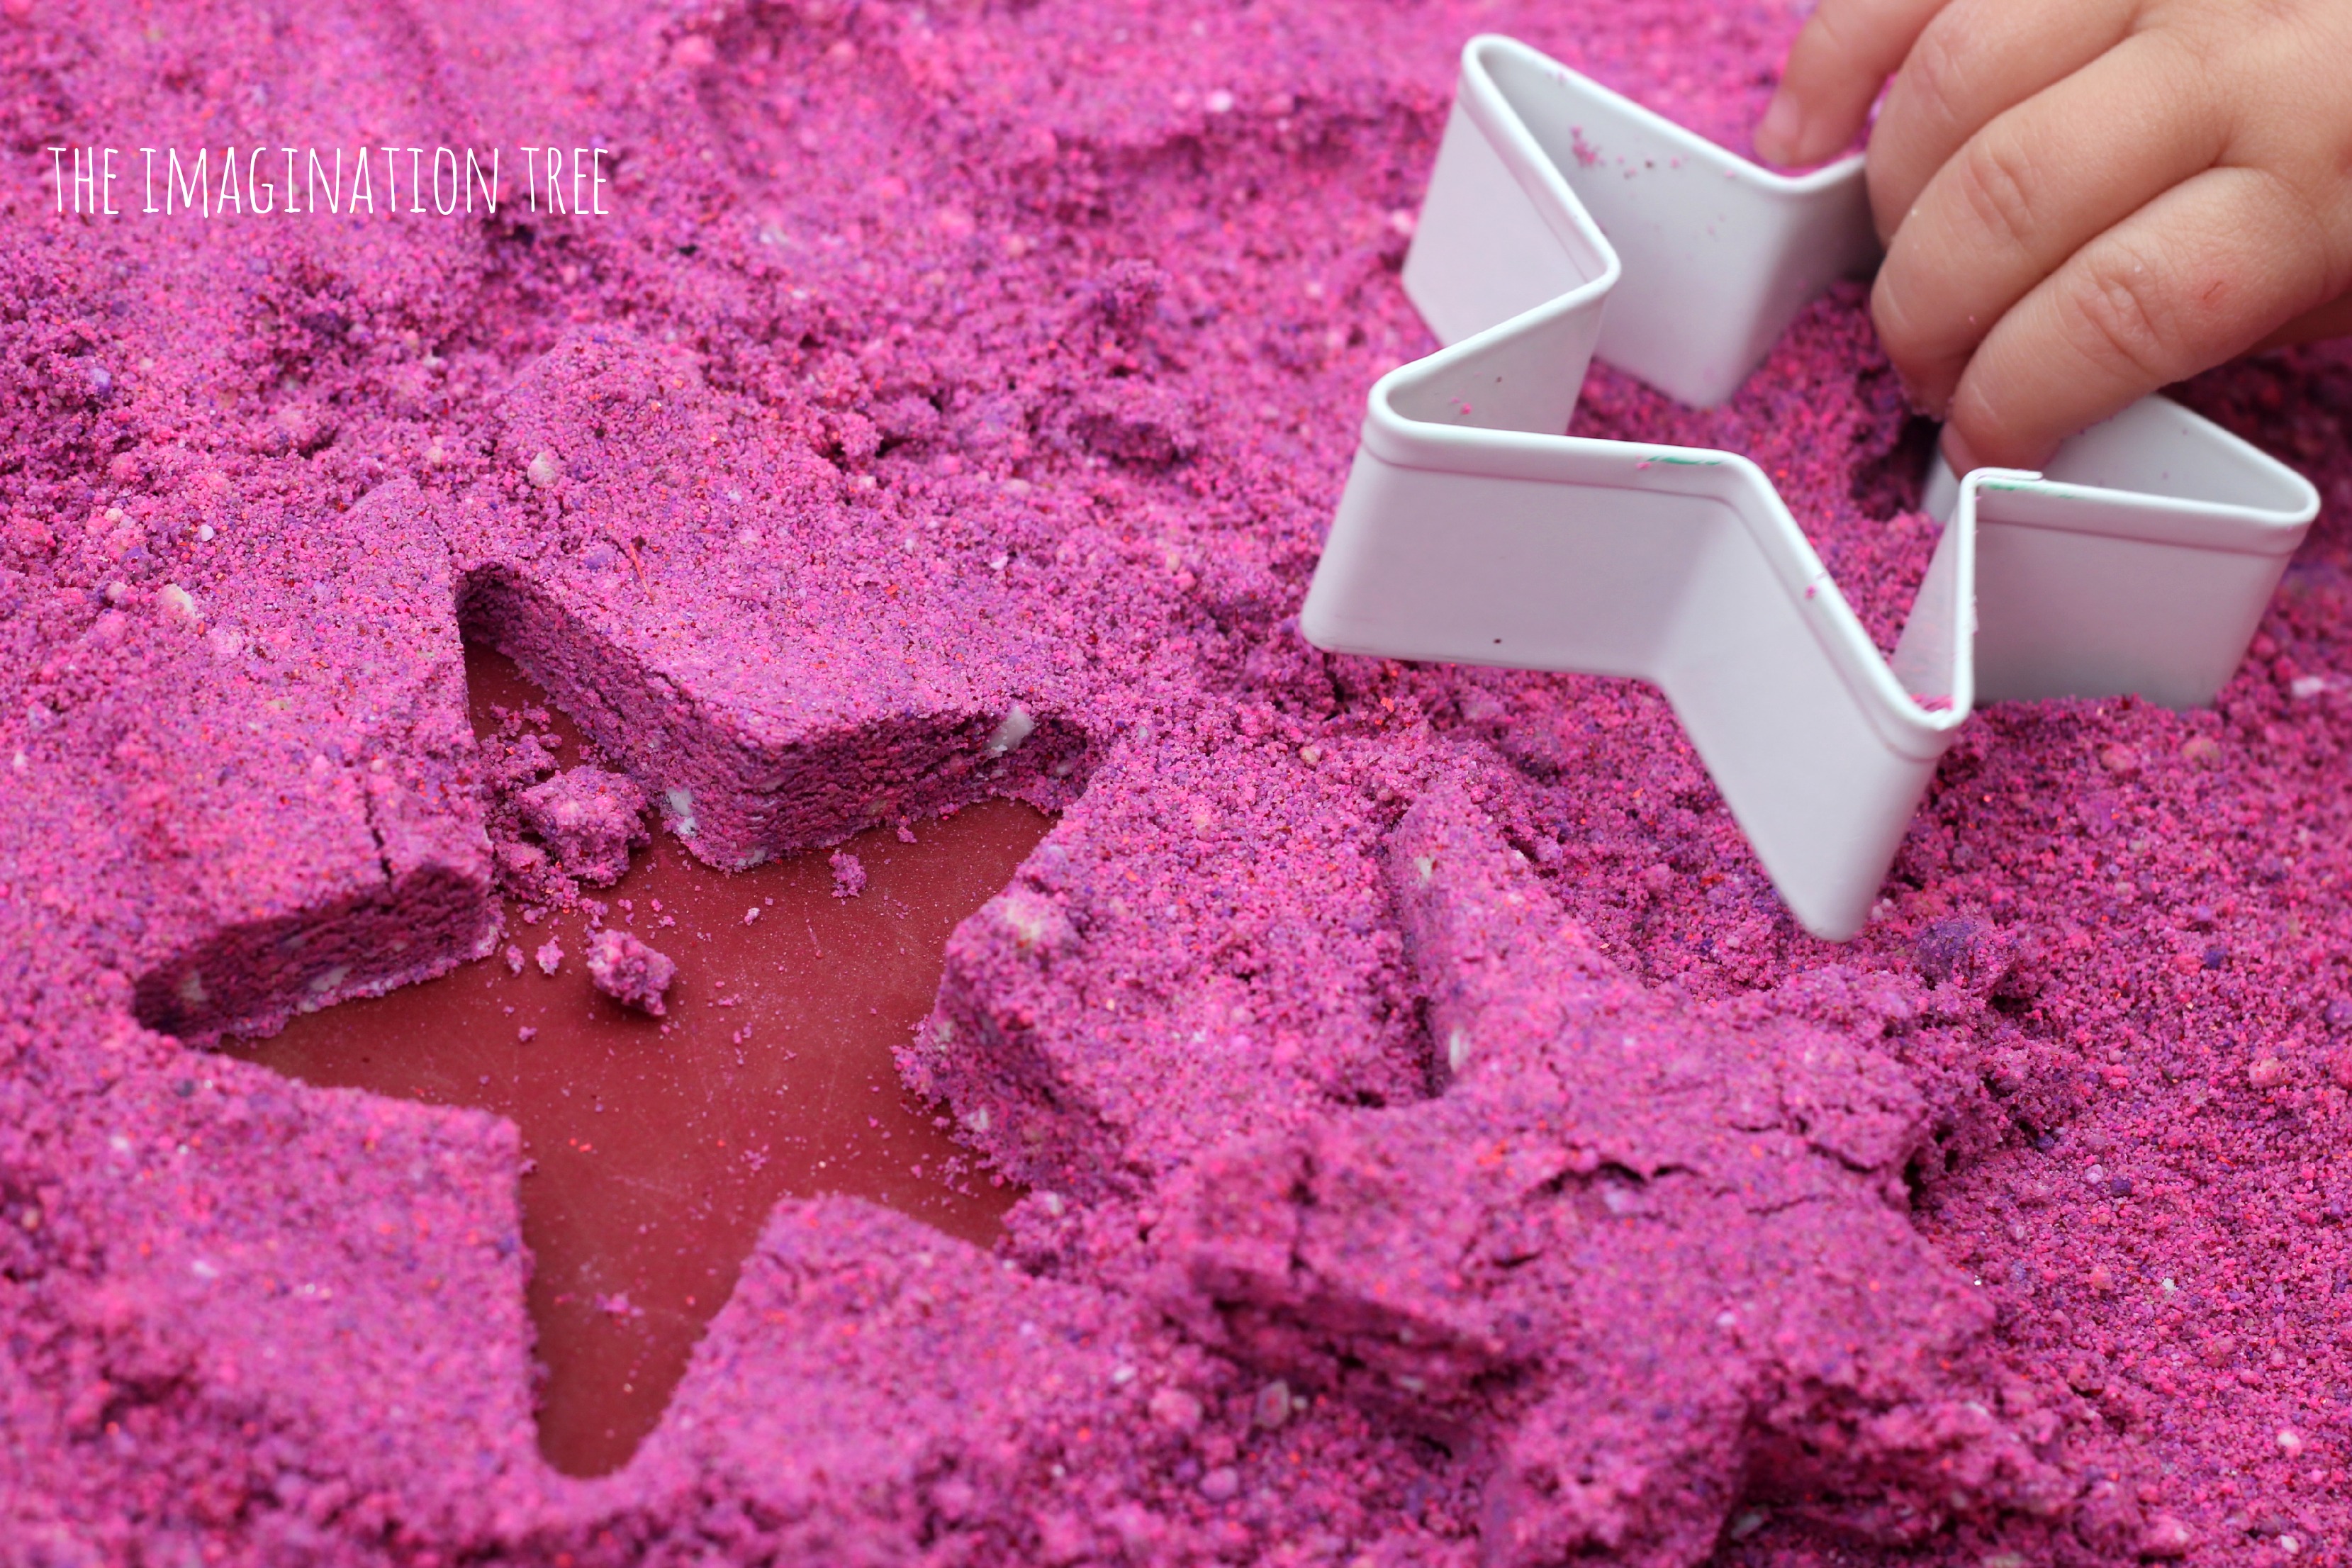 They even found they could cut shapes from it using cookie cutters, although they didn’t transfer too well when picked up and moved. The remaining negative spaces were beautiful however!
The powder paint didn’t colour their hands too badly, only Pop’s who dipped hers directly into the powder paint, but it washed straight off anyway, more easily than regular paint. The moon sand was left out in our table with the lid on and dried out to a sand like consistency after 2 days. We will either add water again to revive it or mix it into our regular sand pit for a colourful addition!
What they are learning while they play:
creativity: inventing games and stories with sensory materials, creating sculptures and forms, exploring patterns and spaces using tools
knowledge and understanding/ science: combining ingredients to create new materials, mixing colours
maths: counting out cup fulls and following recipes
Cakie: 4.9
Pop: 3.3
Bean: 16 months
Search our archives for all our other Play Recipes too! There are dozens to try!
Không có nhận xét nào:
Đăng nhận xét